Showing posts with label Cakes. Show all posts

Monday, August 11, 2014

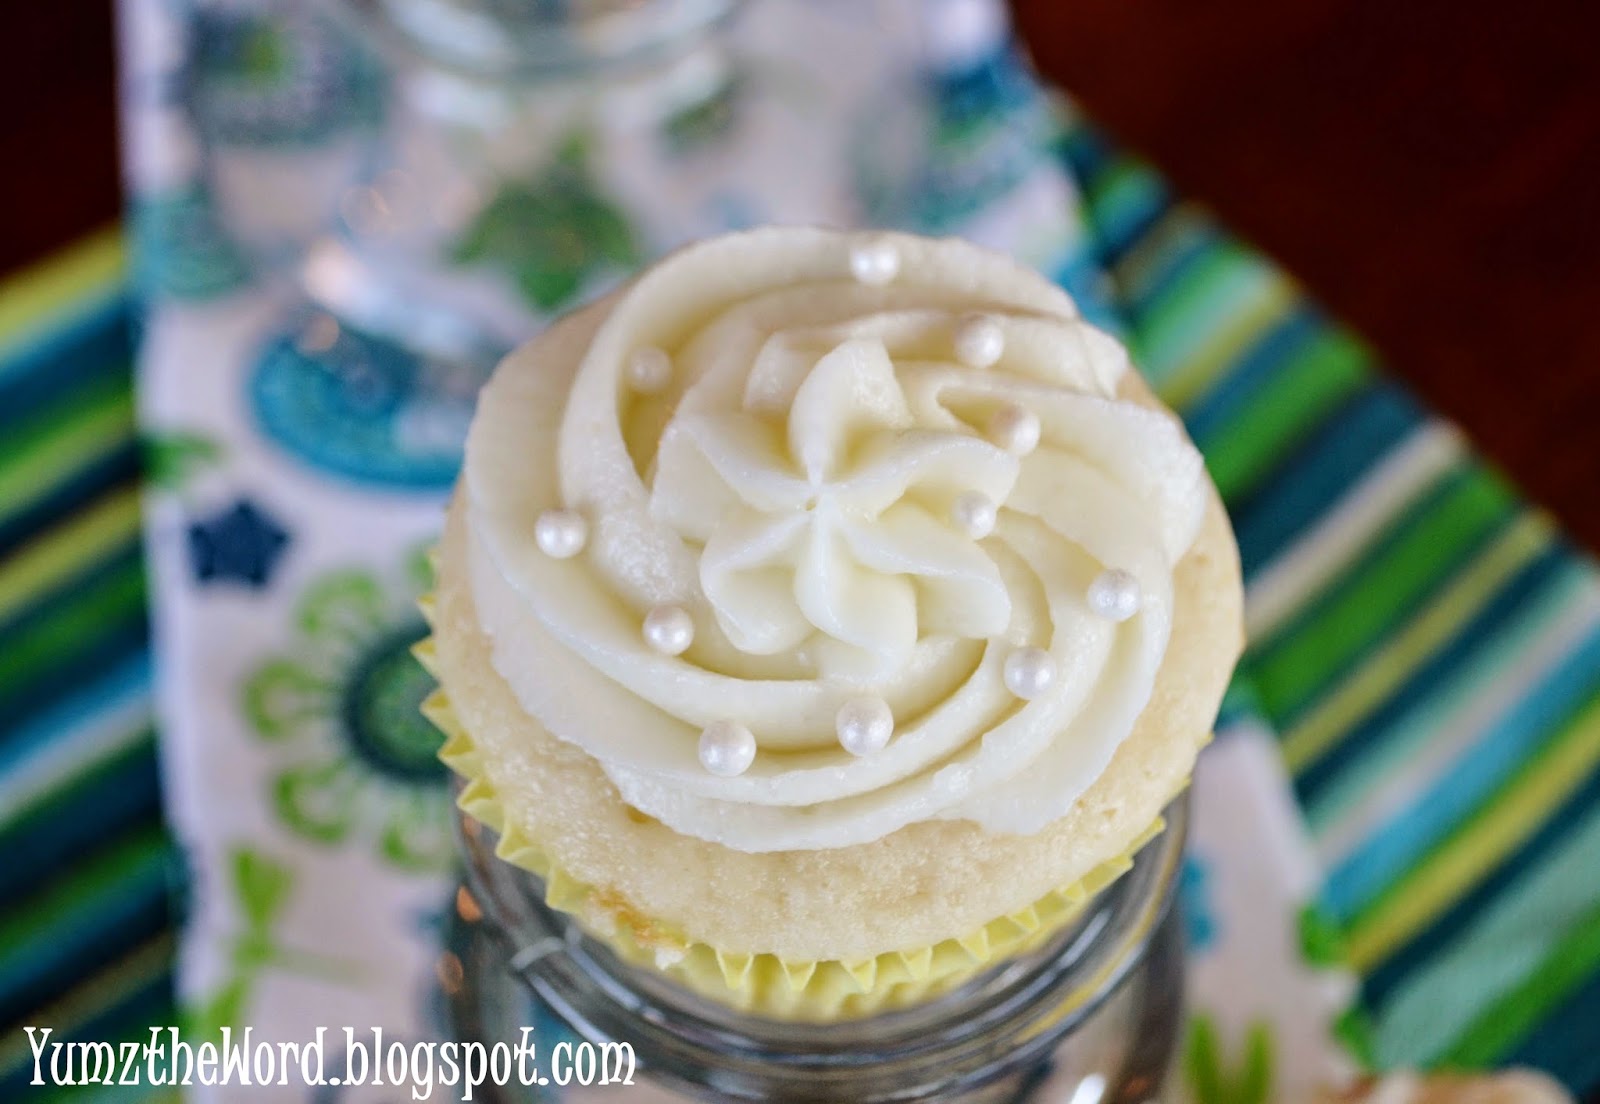
Happily Ever After Cupcakes


Oh. My. Gosh. These cupcakes taste AMAZING!!!

A month ago we traveled back to the East coast to celebrate my inlaw's 50th wedding anniversary. My sister-in-law made a gorgeous and delicious wedding cake, which got me thinking about how much I love the flavor of wedding cakes. Unfortunately, there are no wedding receptions on my calendar for the near future.


Luckily, I'm a problem solver. After some visits to my Pinterest boards, I put together these little gems by combining a couple different recipes. The rest is history.

A light White Almond Wedding Cake recipe (made with a cake mix!) which is super duper moist, filled with homemade fresh raspberry preserves, and topped with a fluffy Almond Buttercream Frosting. You can thank me later - when you're enjoying your cupcake(s).

And we all lived Happily Ever After.

Wedding cupcakes, almond cake, raspberry filled

Happily Ever After Cupcakes

White Almond Wedding Cupcakes:

1 package white cake mix
1 cup all-purpose flour
1 cup white sugar
3/4 teaspoon salt
1 1/3 cups water
1 cup sour cream
2 tablespoons vegetable oil
1 teaspoon almond extract
1 teaspoon vanilla extract
4 egg whites

Preheat oven to 325 degrees. Line cupcake pans with cupcake liners.

Stir together the white cake mix, flour, sugar, and salt in a large bowl until well mixed. Pour in the water, sour cream, vegetable oil, almond and vanilla extracts, and egg whites, and beat with an electric mix on low until all the ingredients are mixed and moistened but some lumps still remain, 4 minutes.

Pour the batter into the prepared cupcake pans, and bake in the preheated oven until the top is a light golden brown and a toothpick inserted into the center of the cake comes out clean, about 25 minutes. Allow to cool before frosting.

Filling:

1/2 cup raspberry freezer jam or raspberry preserves

Fill a pastry bag or Clear Plastic Squeeze Bottle with raspberry filling. Poke the tip into the top of each cupcake. Squeeze approximately 1 tsp filling into each. Remove and continue until all cupcakes are filled.

Almond Buttercream Frosting:

1/2 cup unsalted butter, softened
1/2 cup heavy cream
1 1/2 tsp Almond Extract  
4 cup powdered sugar

Beat butter and heavy cream in mixer for 3 minutes. Add in almond extract and powdered sugar. Beat an additional 5 minutes until light and fluffy. Pipe on cupcakes.

Wedding cupcakes, almond cake, raspberry filled

Wedding cupcakes, almond cake, raspberry filled


Tuesday, June 28, 2011

Flag Cupcakes

This one's more about nostalgia than about the recipe.


Up until 4 years ago I spent every 4th of July at my Grandparent's home and acreage in Reedsport, Oregon. Each year all of my Muffett aunts, uncles, and cousins would gather here for a phenomenal holiday bash. Great food would be served, games would be played, stories would be exchanged, and fireworks (the good ones) would be lit. It was so much fun. It was one of those events that I always enjoyed and treasured, but never really understood how difficult it would be to recreate until everyone started growing up and moving away.


The food was always a potluck of the most wonderful picnic foods brought and shared by everyone. It would all be set out on my grandmother's dining table, and I remember the wonderment I had as a kid that I was allowed to eat whatever I wanted, whenever I felt like it. Being able to just grab a handful of BBQ potato chips when I wanted to was a very special thing. There was roasted chicken, sandwich meats and cheeses, Grandma's unbeatable potato salad, baked beans, chips, veggies, fruit and so much more. Outside would be a big cooler full of ice and most any softdrink or juice you could want - chilled to icy perfection. We would eat watermelon on Grandma's big porch and roast hot dogs and marshmallows over a big campfire that was built each year on her gravel driveway. The sticks we used to roast with were gathered and whittled by "the boy cousins." From the moment we arrived there would be 4-8 ice cream machines churning out multiple gallons of the best homemade ice cream ever (in the earlier years we had to hand crank it). It was a simple recipe that my Grandpa Muffett used to enjoy as a child made from fresh milk and cream. We would top this delight with my Grandma's homemade hot fudge sauce. Ohhh, my mouth is watering as I type.


And each year my mom would make a wonderful half sheet white cake chilled and topped with whipped cream. She would artfully arrange blueberries and raspberries on top to make it look like a US flag. Simply beautiful and absolutely delicious. I can still taste the fresh sweetness of that chilled flag cake.

This year as we enjoyed a quiet 4th of July to ourselves, I pondered the good ole days and missed them a lot. I made these flag cupcakes in honor of my mom's flag cake, and I plan on using the month of July to prepare and enjoy many of the other foods that I remember so fondly. Next up Muffett Homemade Ice Cream with Grandma's Homemade Hot Fudge Sauce - I can hardly wait!


Flag Cupcakes

1 box white cake mix
1 container White Frosting
1 pint fresh blueberries
1 pint fresh raspberries
1 cup sweetened coconut flakes

Prepare cake mix as directed on box and bake into 20 cupcakes. Allow to cool then frost cupcakes with frosting. Arrange blueberries on 4 of the cupcakes, raspberries on 8 of the cupcakes, and dip the remaining 8 cupcakes in the coconut. Arrange on a platter or breadboard as pictured above to look like a US flag.


Friday, April 22, 2011

Quick Cookie Cake Decorating


My daughter stayed up late one night to make this cookie cake for one of her teachers - and yes, she is the "Teacher's Pet."  It has been long enough ago, that I cannot remember the occasion for the cookie cake, but I do remember that I ended up having to decorate it for her in the morning before she went to school.   Now, mornings around here are quite busy getting 4 kids off to school, so I had to come up with something easy and quick.  Thank goodness for canned frosting (both chocolate and white) and some yellow food coloring.  I also have one of these handy dandy decorating tools that made piping very quick - much easier than filling plastic decorating bags!

Now, I know it's no work of art, but it's cute nonetheless - don't you think?

For some reason I feel like shopping at Walmart now. . .

Sunday, January 23, 2011

Zebra Cake


So, my daughter's Sweet 16th birthday was coming up and she decided on an animal print theme.  So we went with a "Wild Thing Sweet 16 Party."  I wanted her to have a cool cake, but the local grocery store bakeries didn't have what I wanted, and I didn't want to spend a fortune to have it made by a real cake decorator. So, I did a little research and came up with a plan to have both the inside and the outside of the cake have zebra stripes! I know - cool, right?! Here is the process for my inside and out zebra cake.

First I needed the cake layers. I found many references on the web on how to make a cake that when you cut into it looks like zebra stripes. Click here to see the process of pouring alternate colors of cake batter into the pan to make zebra stripes. For my cakes I just used boxed cake mixes - white and devils food.

Assembly of ingredients
I found that one box of white and one box of devils food made enough batter to make one 10 inch round layer and one 6 inch round layer plus about 9 cupcakes with the leftover batter.  I did the whole process twice to create all my layers.

Batter poured into pan
Cupcakes made from extra batter
After I baked and cooled the cake layers, I removed them from the pans and put them on cardboard cake rounds.  I needed the cakes to be absolutely level so that the final product would look, well not crooked. The cake decorating supply department had this really cool cake topper gadget for evenly removing the rounded cake tops.

Man I totally love that thing! Here is my level cake layer:


Then I put chocolate frosting between the 10 inch layers to make my cake base, and the 6 inch layers to make my cake top.


Notice the big chunk of cake that tore out of the bottom of one of my 10 inch layers when I removed it from the pan.  I didn't freak out about it, I just filled it in with my buttercream frosting when I did my crumb coat.


See, you can't even tell.  Now a person could make the buttercream to do this smooth crumb coat, but I decided to save myself some time and purchased two containers of cake decorating frosting.  I allowed the crumb coat to harden uncovered in the refrigerator overnight.


Then rolled out the fondant and covered the cake.  I watched this YouTube video to figure out how to do it.


I trimmed off the excess with my pizza cutter.


And used this handy little fondant smoother to "polish" and smooth.

I added some lime green food color gel to some more fondant and did the same thing to my top layer.


Here are my top and base all ready to earn their zebra stripes and giraffe dots.


Before I stacked the layers or decorated the lower layer with stripes, I marked the top of the lower tier by tracing around the 6 inch pan base with a knife tip.  This left me with an indentation in the fondant showing where the top tier would be placed later. I also measured and cut 4 cake dowels and pushed them into the cake within the marked circle below to keep the cake from collapsing once the top got put on - sorry, I forgot to take a picture of this.


I watched this awesome YouTube video on how to make a fondant zebra stripe cake.  I just used white fondant and mixed in black food color gel since my cake decorating department isn't large enough to carry pre made black fondant.


I then covered the top layer in black giraffe spots.  The real deal would've been yellow with brown spots, but the lime green and black matched her party colors better.  Then I made a bow out of hot pink colored fondant. Here are the final elements of the cake.


Then I stacked the tiers.


Put the pink ribbon on. The bow still had to dry for 24 hours, so it's not on the cake yet.


Sent out invitations.


And has us a grrrrrrreat party!


Oh, and here's a picture of two of the slices (trust me it's hard to cut into the cake when you put so much time into it).


Yay - the zebra stripes go all the way through the cake!!


Friday, June 18, 2010

Carrot Cake

This year for his birthday my husband requested a carrot cake.  I was happy to oblige, because I love carrot cake too - especially chilled, mmmmmmm.

This recipe was given to me by my sister-in-law, Raena, and it has become a family classic.  I made one a couple of years ago for a fundraising auction, and it sold for $25!


Carrot Cake


1 1/2 cups oil
2 cups sugar
3 eggs
1 teaspoon vanilla
2 cups grated carrots
1 cup crushed pineapple, drained
2 1/2 cups flour
1 teaspoon baking soda
1 teaspoon baking powder
1/2 teaspoon salt
1 teaspoon cinnamon
1/2 cup shredded coconut
1 cup chopped nuts (optional)


First peel and grate your carrots.  I love using my Cuisinart Food Processor for this, because it does it so fast and I don't have to worry about grating my fingers!

Combine the oil and sugar then mix in the eggs one at a time.  Add the vanilla, pineapple and grated carrots.


Sift the dry ingredients then mix them into the wet ingredients.  Stir in the coconut and (optional) nuts.

Pour the batter into lightly greased pans (9x13 or 2 9" rounds).

Bake the cakes at 350° for 35-45 minutes.  Let the cakes cool in their pans for 10 minutes before removing.  I put them on plates to cool completely.

Frost with cream cheese frosting.

OK, I usually call it good at this point.  It's ready to eat.  But for this special birthday occasion, I wanted it to be a bit more colorful.  I used about a cup of coconut and colored it up by placing it in a bowl and mixing it with a few drops of food coloring. The coconut will turn a beautiful color (I used red and yellow to make orange - that elementary school art class came in handy).  Then I sprinkled and pressed the coconut to the outside of the frosted cake.  My son thought I had actually decorated the cake with grated carrot!  I'm not sure if this is a good or bad thing, but I think next time I'll try making my coconut a different color - lime green perhaps?
Related Posts Plugin for WordPress, Blogger...